
This winter, I stood at the 2nd floor right next to the large window at 2 AM, watching my breath turn to fog while trying to figure out why my heating bill had doubled. I’d already called two contractors who gave me wildly different diagnoses. That’s when I bought my first thermal camera for $249. Within ten minutes, I spotted a massive heat leak in my roof insulation that was literally throwing money into the cold Canadian air.
That experience kicked off what became almost three years of working with thermal imaging technology. I’ve since tested everything from $89 smartphone attachments to $8,000 industrial units. Along the way, I’ve helped friends choose thermal cameras for home inspections, watched electricians save lives by catching electrical fires before they started, and even used these devices to find my cat hiding in the basement walls during a renovation (long story).
If you’re wondering how much a thermal camera costs and whether it’s worth the investment, I’m going to share everything I’ve learned, the mistakes I made, and exactly how to avoid overpaying for features you’ll never use.
The Real Story Behind Thermal Camera Pricing
Here’s what nobody tells you upfront: the thermal camera market is divided into worlds that barely overlap. A $200 home inspection camera and a $5,000 industrial unit might both be called “thermal cameras,” but they’re solving completely different problems.
Think of it like buying a car. You wouldn’t compare a Honda Civic to a Mack truck and wonder why one costs 20 times more. They’re both vehicles, but they’re built for entirely different purposes. Same thing with thermal imaging.
The entry-level consumer thermal cameras typically run between $150 and $600. These are the tools most homeowners and DIY enthusiasts need. I spent most of my first year in this range, and honestly, for home use, it’s the sweet spot.
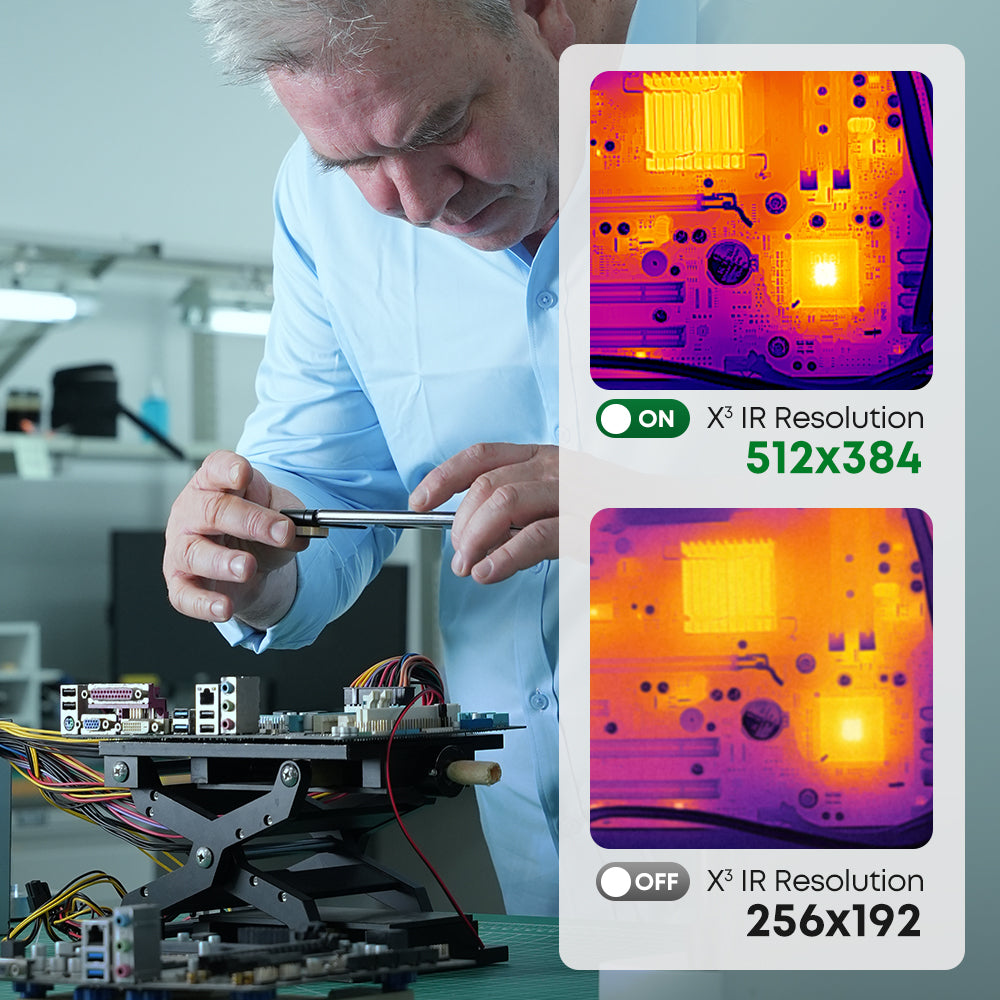
Mid-range professional devices cost anywhere from $600 to $2,500. This is where you’ll find the tools that electricians, HVAC technicians, and building inspectors rely on daily. These cameras handle more demanding conditions, offer better image quality, and include features like interchangeable lenses or advanced measurement tools.
High-end industrial thermal cameras start around $2,500 and can exceed $10,000. These are precision instruments used in manufacturing, research, and specialized industrial applications. Unless you’re running a predictive maintenance program for a factory, you probably don’t need this level of capability.
What Happened When I Tested Cameras at Every Price Point
After my initial success finding that insulation problem, I got a bit obsessed. I started testing different thermal cameras whenever I could get my hands on them. Here’s what I learned about each category.
The Smartphone Attachment Experience
My first thermal camera was actually a smartphone attachment. I went with the Thermal Master P2 Pro because it was compatible with my iPhone and cost just $249. The physics teacher in me was skeptical at first, but I was pleasantly surprised.

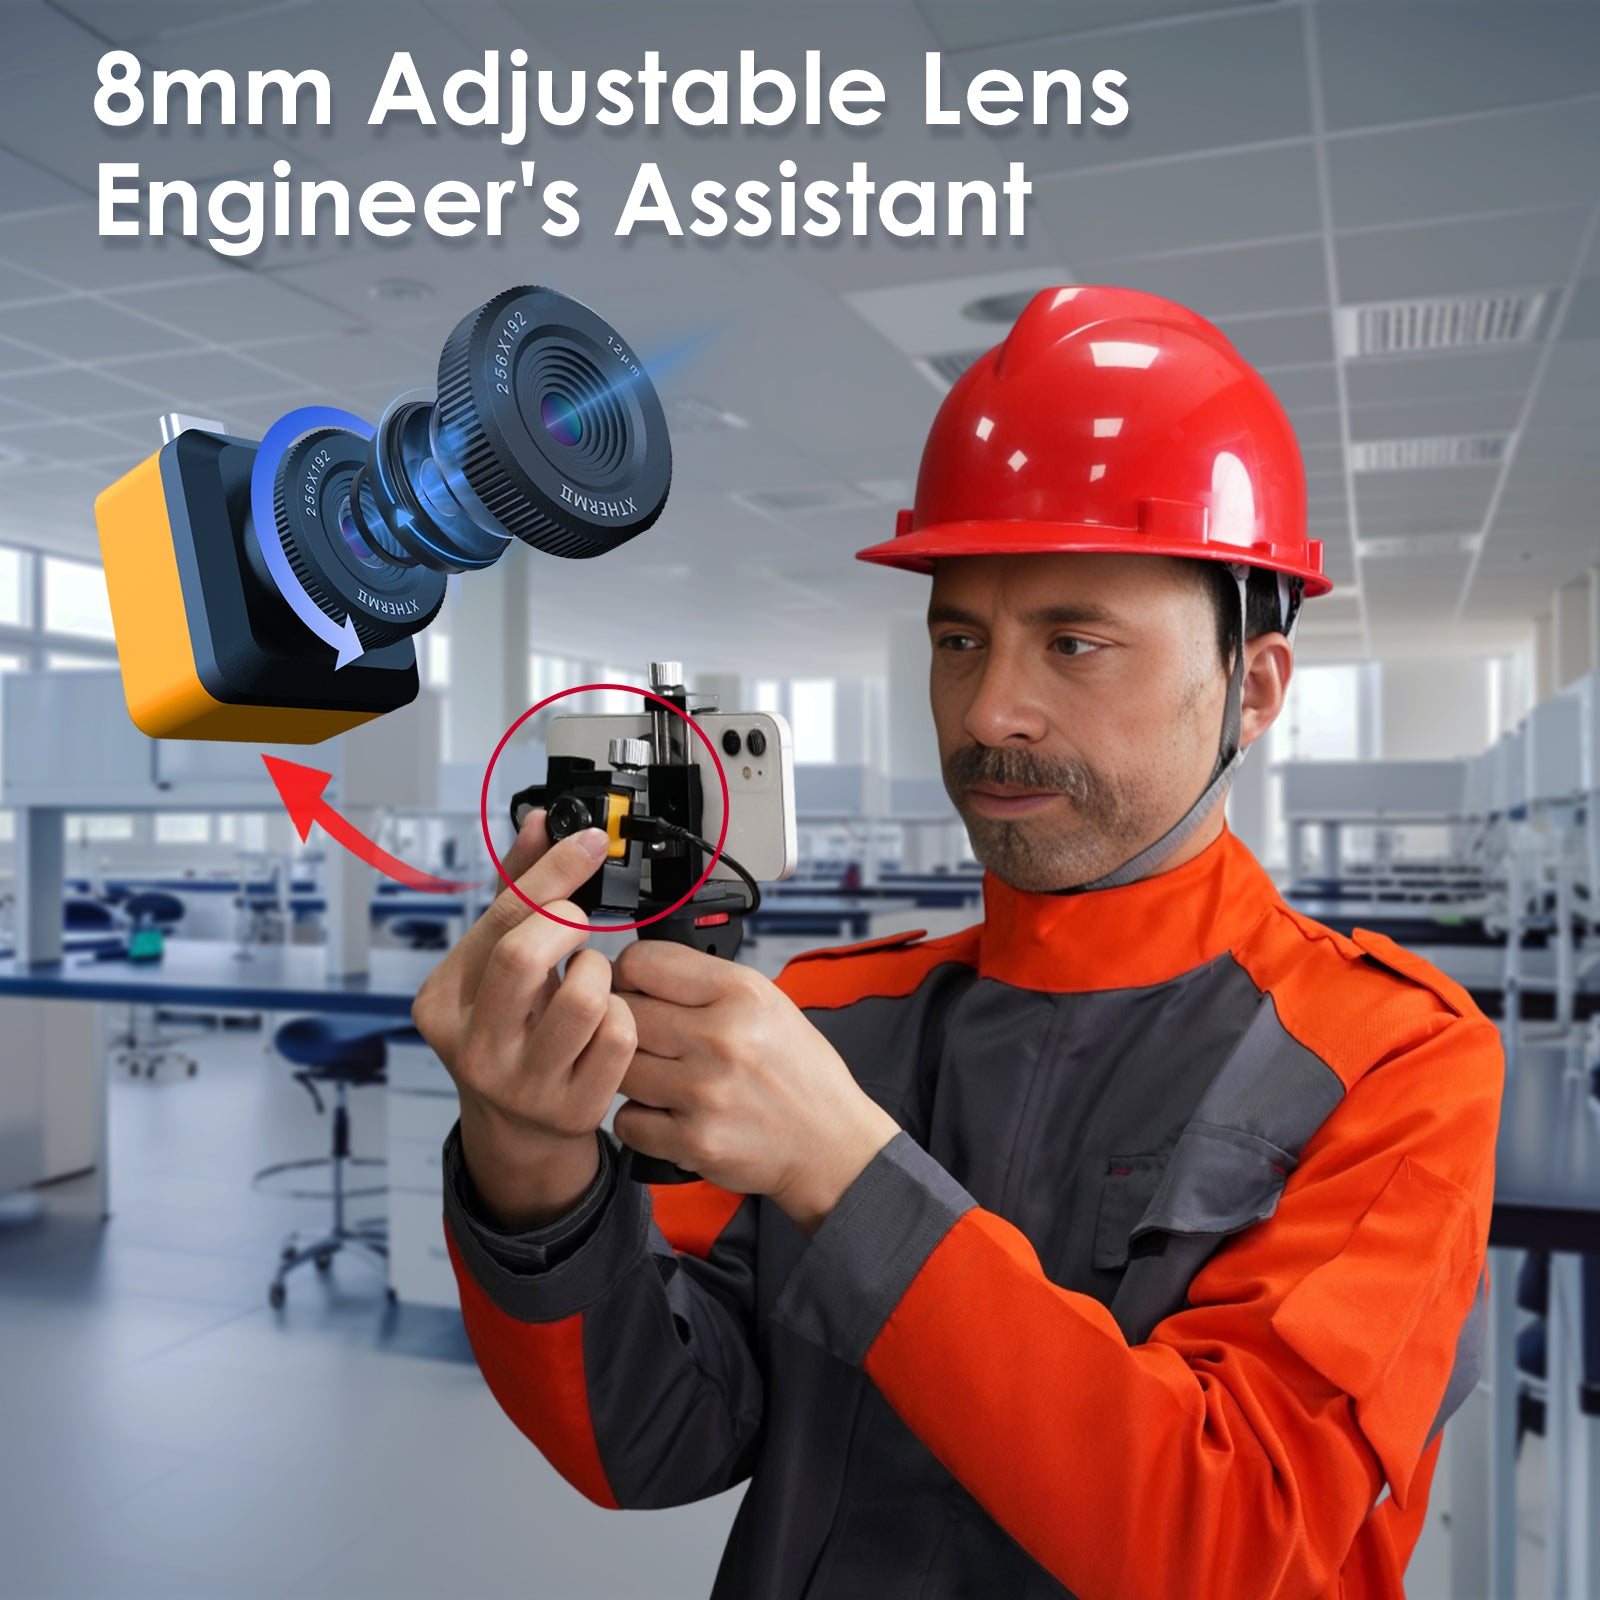
These compact devices plug directly into your phone and turn your screen into a thermal display. The image quality isn’t going to win any awards, but for basic home inspections, they work surprisingly well. I’ve used mine to check for drafts around windows, find moisture behind walls before it became visible mold, and even locate the exact spot where a pipe was leaking inside a wall cavity.
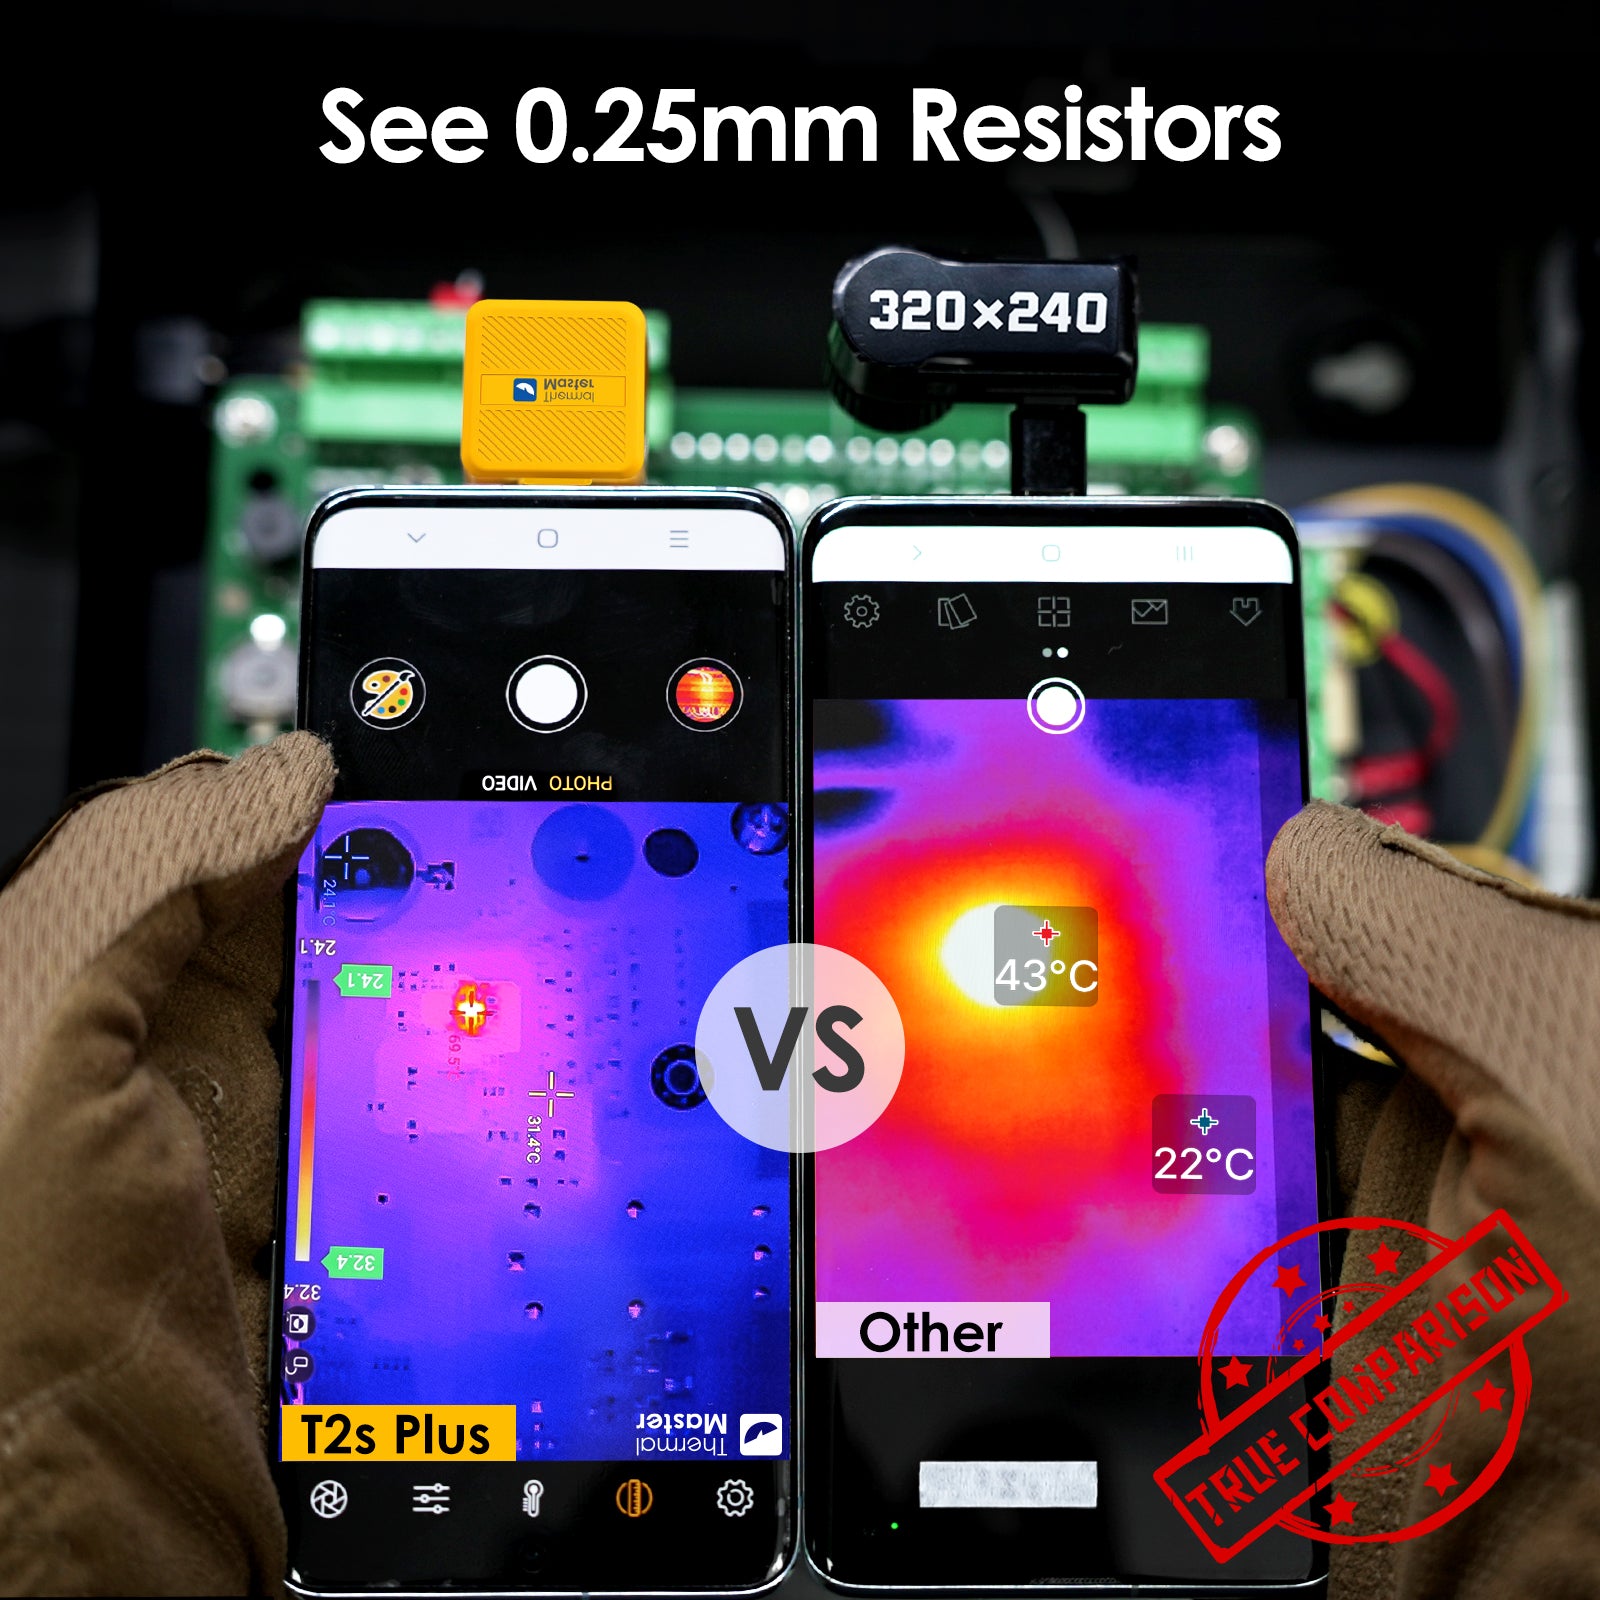
The limitation? These entry-level thermal attachments typically have lower resolution (around 256×192 pixels) and less temperature sensitivity. According to research from the National Institute of Standards and Technology, consumer-grade thermal sensors need at least 0.1°C thermal sensitivity for reliable home energy audits. Most smartphone attachments hit this threshold, though barely.
What to expect in the $150-$400 range: When you’re shopping in this price bracket, you’re getting basic thermal sensing. The images will look blockier than professional cameras, and you might miss subtle temperature differences. But for finding major problems like missing insulation, electrical hotspots, or water leaks, they’re completely adequate.
I’ve recommended smartphone thermal cameras to several friends doing home renovations, and the feedback has been universally positive. One friend found $2,000 worth of heat loss in his 1960s bungalow within an hour of plugging in his $299 camera. Another discovered that her “recently insulated” attic had been improperly done, with huge gaps the contractor had missed.
Moving Up to Handheld Professional Cameras
After about eight months with my smartphone attachment, I upgraded to the Thermal Master Thor ($699). This was a game-changer, and not just because of the sharper image.
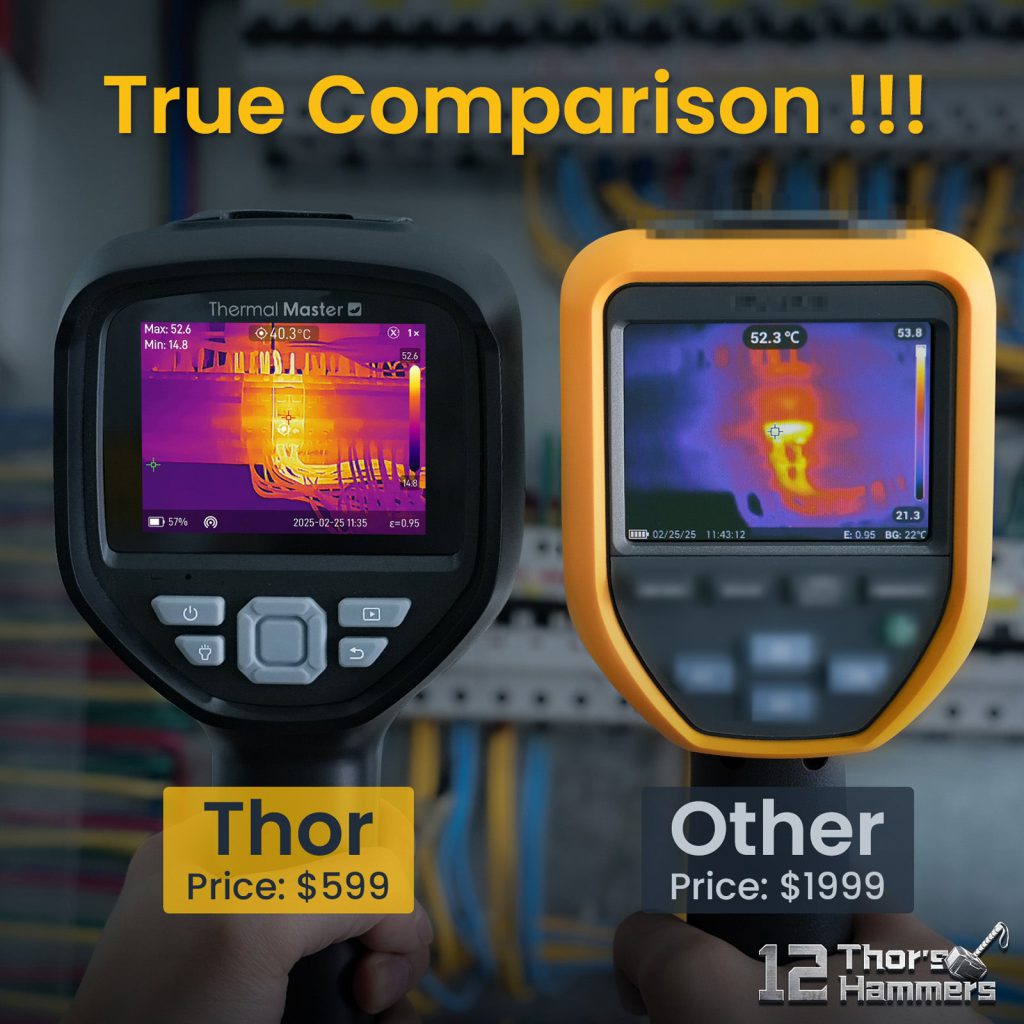
Handheld thermal cameras are standalone devices with built-in displays, batteries, and storage. The Thor gave me a 384×288 resolution sensor, which sounds like a small bump from my phone attachment but made a massive difference in real-world use. I could suddenly see temperature variations across smaller areas, like individual electrical connections in a breaker panel or specific sections of pipe in a wall.
The improved thermal sensitivity (NETD of 0.05°C versus 0.1°C on my phone attachment) meant I could detect problems earlier. I once found an overheating transformer in my neighbor’s electrical panel that was running only 15 degrees above ambient. My phone attachment would have missed it entirely. Two weeks later, that transformer failed. We’d already scheduled the replacement, so it didn’t cause a fire.
Professional handheld cameras in the $600-$1,500 range are where most serious users should look. The International Association of Certified Home Inspectors recommends this tier for professional inspections, citing the better image quality and measurement accuracy as essential for reliable diagnoses.
Real-world example from my work: I was helping a friend who flips houses investigate what he thought was a minor moisture problem. With my handheld camera, we discovered the “minor” issue was actually moisture traveling up through the foundation, affecting three interior walls and the subfloor. The thermal camera showed us the full extent immediately. If we’d relied on a basic moisture meter, we’d have done the repair wrong and faced mold issues within a year.
The Professional and Industrial World
I’ve tested several high-end thermal cameras in the $2,500+ range, though I’ve never personally owned one. These devices are remarkable pieces of engineering, but they’re also specialized tools for specific industries.
These cameras offer much higher resolution (640×480 pixels or higher), extreme temperature ranges (some can measure from -40°C to +2000°C), and advanced features like radiometric video recording or thermal time-lapse. They’re built for industrial predictive maintenance, scientific research, and professional thermography businesses.
The manufacturing sector relies heavily on these high-end systems. According to a 2023 report by MarketsandMarkets, the industrial thermal imaging market is growing at 7.2% annually, driven largely by predictive maintenance applications in manufacturing and energy production. These applications demand the precision and reliability that only expensive cameras can provide.
But here’s the honest truth: if you’re reading this article wondering how much a thermal camera costs, you probably don’t need an industrial-grade unit. These are investments for businesses where thermal imaging is a core part of operations, not occasional use.
What Actually Matters When Comparing Prices
After testing dozens of cameras at different price points, I’ve learned that three factors drive most of the cost difference, and they matter more than all the other specs combined.
Thermal Resolution Is Everything
Resolution determines how much detail you can see in the thermal image. My $249 smartphone attachment has 256×192 pixels (49,152 total pixels). My $699 handheld has 384×288 pixels (110,592 pixels). A $3,500 professional camera might have 640×480 pixels (307,200 pixels).
More pixels mean you can stand farther away and still see small details. With my smartphone attachment, I need to be within about six feet of a breaker panel to see individual circuit breakers clearly. With my handheld camera, I can scan from 15 feet away and still identify which specific breaker is warming up.
For home use, I’ve found that 256×192 resolution is the absolute minimum for useful work. Anything less and you’re basically looking at color blobs without meaningful detail. The 384×288 resolution range (where many $600-$1,200 cameras sit) is ideal for most professional and serious hobbyist use.
Thermal Sensitivity Separates Good from Great
NETD (Noise Equivalent Temperature Difference) measures how small a temperature difference the camera can detect. Lower numbers are better. My smartphone attachment has 0.1°C NETD. My handheld has 0.05°C. High-end cameras can reach 0.02°C or better.
This might sound like a trivial difference, but it’s not. That factor-of-two improvement from 0.1°C to 0.05°C meant I could catch problems in their early stages instead of waiting until they were obvious.
The Infrared Training Center recommends 0.05°C NETD or better for professional electrical inspections, where catching temperature rises of just a few degrees can prevent equipment failures or fires.
Build Quality Reflects Your Use Case
A $250 thermal camera uses basic plastics and simple electronics. It’s fine for occasional use but won’t survive a decade of daily professional work. A $1,500 camera typically features ruggedized construction, better seals against moisture and dust, and can handle being dropped from four feet onto concrete.
I learned this lesson when I dropped my first smartphone attachment from a ladder onto a cement floor. The housing cracked, moisture got in, and the sensor failed within two months. My Thermal Master Thor, on the other hand, has survived two similar drops with nothing more than cosmetic scratches. It’s built like a brick.
If you’re using a thermal camera professionally, that extra durability is worth paying for. If you’re scanning your house twice a year, the cheapest model that meets your resolution needs is probably fine.
How I Help People Choose the Right Camera
When friends ask me which thermal camera to buy, I always start with the same question: “What specific problem are you trying to solve?”
For Home Energy Audits and Basic Inspections
If you want to find drafts, check insulation, or do occasional electrical checks around your house, start with an entry-level smartphone attachment or basic handheld camera in the $200-$500 range.
I usually point people toward the Thermal Master P1 ($199) for Android users or the P2 Pro ($249) for iPhone owners. These provide adequate resolution (256×192) and sensitivity (0.1°C NETD) for home use. The U.S. Department of Energy’s Home Energy Saver tool lists thermal imaging as one of the most effective ways homeowners can identify energy waste, and these affordable cameras make that accessible.
Last year, I helped my parents use a basic thermal camera to prepare for new insulation work. We found three major problems: inadequate attic insulation, air leaks around two dormer windows, and a thermal bridge where an interior wall met the foundation. The contractor quoted $3,500 to fix everything. The first winter after repairs, their heating bills dropped 28%. The camera paid for itself in about two months.
For HVAC, Plumbing, and Electrical Professionals
If you’re using a thermal camera regularly for work, invest in a quality handheld model in the $600-$1,500 range. The improved resolution, sensitivity, and durability will pay for themselves quickly through faster diagnoses and fewer missed problems.
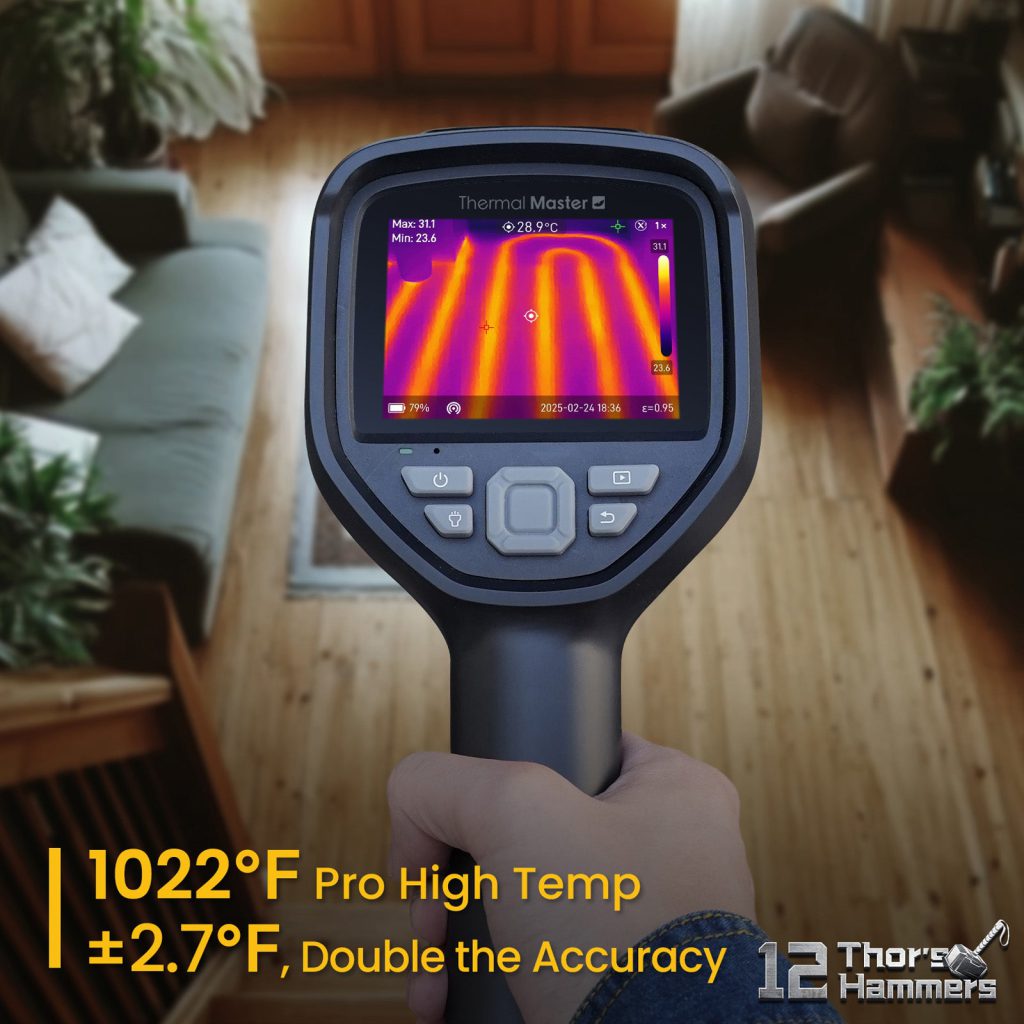
The Thermal Master Thor ($699) hits a sweet spot here. It’s built to handle daily professional use, offers 384×288 resolution with 0.05°C sensitivity, and includes features like temperature measurement spots and differential temperature displays that professionals need.
I know several electricians who swear by their thermal cameras. One told me he catches three or four dangerous electrical issues per month that visual inspection alone would miss. According to the National Fire Protection Association, electrical failures or malfunctions were the second leading cause of U.S. home fires between 2015-2019. A good thermal camera helps electricians prevent these tragedies.
For Industrial and Specialized Applications
If you’re doing industrial predictive maintenance, scientific research, or running a professional thermography business, you need professional-grade equipment ($2,500+). At this level, you’re also probably working with a thermal imaging specialist who can help specify the exact model based on your application.
These cameras offer features like radiometric recording (where every pixel stores its exact temperature), interchangeable lenses for different inspection distances, and advanced analysis software. The investment is significant, but for operations where equipment downtime costs thousands per hour, catching problems early through thermal monitoring provides massive ROI.
The Question Everyone Eventually Asks: Is It Really Worth It?
Three years ago, if someone had told me I’d eventually own multiple thermal cameras and consider them essential tools, I would have laughed. But here’s what changed my mind.
I’ve directly saved thousands of dollars using thermal cameras. Beyond that first insulation discovery, I’ve found plumbing leaks before they caused water damage, caught electrical problems before they caused fires, and helped friends and family solve problems that would have cost them tens of thousands in repairs.
More importantly, thermal cameras give you information you literally cannot get any other way. You can’t see heat. You can’t see electrical overloads. You can’t see moisture hidden in walls. A thermal camera makes the invisible visible.
The peace of mind aspect shouldn’t be underestimated either. After I finished renovating my basement last year, I did a complete thermal scan. Finding zero hot spots, no moisture intrusion, and perfect insulation distribution meant I could sleep well knowing the work was done right. That confidence was worth the cost of the camera alone.
For professionals, the return on investment is even more straightforward. An electrician friend of mine calculated that his $800 thermal camera adds about $30 of value to each inspection (through faster diagnosis and better reports), and he does 3-4 inspections per day. The camera paid for itself in about two months.
Where to Actually Buy Your Thermal Camera
I’ve bought thermal cameras from several sources, and the experience varies significantly.
The manufacturer’s direct website is usually your best option. When I bought my Thermal Master cameras directly from thermalmaster.com, I got full warranty support, access to firmware updates, and responsive customer service when I had questions. Manufacturers also typically offer better return policies than third-party sellers.
Major retailers like Amazon and Best Buy stock consumer thermal cameras, and the convenience is undeniable. However, be cautious with marketplace sellers on Amazon. I’ve heard multiple stories of counterfeit units or gray-market imports that didn’t include proper warranty coverage. Stick with items sold and shipped directly by the retailer.
For professional-grade equipment, authorized dealers often provide the best value. They can offer training, calibration services, and sometimes package deals with cases, spare batteries, and extended warranties.
One warning: avoid “too good to be true” deals on auction sites or Craigslist. Thermal camera sensors can degrade over time or from rough handling, and you have no way to verify the condition of a used unit. The $200 you save buying used could turn into $500 in sensor replacement costs.
Final Thoughts from Someone Who’s Been There
If you’d asked me three years ago whether spending $249 on a thermal camera made sense, I probably would have said it was excessive. Now, after using these tools extensively, I consider a basic thermal camera essential for any homeowner who does their own maintenance or is serious about energy efficiency.
The technology has come down in price dramatically. What cost $10,000 fifteen years ago is now available for $500, and what cost $2,000 five years ago is now under $300. This democratization of thermal imaging means more people can access these incredibly useful tools.
My advice? Start with an affordable model and learn what thermal imaging can do for you. If you find yourself using it constantly and bumping against its limitations, upgrade to something better. But for most people, an entry-level camera will solve 90% of problems while costing just 10% of what a professional-grade unit costs.
The worst mistake you can make is not buying one at all when you have problems a thermal camera could solve. The second-worst mistake is overpaying for features you’ll never use. Find the camera that matches your actual needs, and you’ll wonder how you ever managed without it.
Questions I Hear Most Often
Can a thermal camera actually see through walls?
This is the biggest misconception about thermal cameras. They can’t see through walls any more than your eyes can. What they do is detect temperature differences on surfaces. But here’s the clever part: those surface temperature differences often reveal what’s happening behind the wall.
When I’m looking for a water leak, I’m not seeing the water itself. I’m seeing the cooler surface temperature where moisture has wicked through the drywall and is evaporating. When I’m checking insulation, I’m not seeing the insulation. I’m seeing the warmer or cooler surface that indicates where insulation is missing or inadequate.
It’s detective work rather than x-ray vision. But it’s incredibly effective detective work.
How long before I need to replace or upgrade?
I’ve been using my main thermal camera for almost three years now, and it works as well as the day I bought it. The sensor technology is solid-state, so there are no mechanical parts to wear out. The rechargeable battery will eventually degrade, but most cameras have replaceable batteries.

I’d estimate 5-7 years of useful life for an entry-level camera with occasional use, and 8-10 years for a professional camera with daily use, based on conversations with other users and manufacturers.
The main reason to upgrade is technology improvement, not equipment failure. Thermal camera resolution and sensitivity keep improving while prices drop. In another five years, we’ll probably have cameras twice as good for half the price. But your current camera will still work fine for what it does today.
Why do some cameras cost ten times more than others?
The core difference is sensor technology and build quality. A $300 camera uses a basic microbolometer sensor with 256×192 pixels. A $3,000 camera uses an advanced sensor with 640×480 pixels or higher, better thermal sensitivity, and a wider temperature measurement range.
Higher-end cameras also include better lenses, ruggedized housings, longer warranties, more sophisticated measurement tools, and better analysis software. For industrial applications where you’re measuring temperatures on machinery that costs millions of dollars, that extra accuracy and reliability is worth the premium.
But for most of us checking our homes or doing basic professional inspections, those advanced features aren’t necessary. It’s like buying a microscope. A $400 microscope is perfect for high school biology. A $40,000 research microscope offers capabilities that only matter in specialized lab work.
Ready to Get Started?
The best time to buy a thermal camera was three years ago when I made my first purchase. The second-best time is right now, especially if you have any of these situations:
- Unexplained high energy bills that suggest heat loss or air leaks
- Concerns about electrical safety in an older home
- Plans for renovation or insulation work
- Professional work involving diagnostics or inspections
- Any situation where you need to find problems you can’t see
Start with the entry level if you’re uncertain. You can always upgrade later if needed. But I’m confident that once you start using thermal imaging, you’ll find applications you never expected. I certainly did.